DIY Steps to Remove Paint From Glass Windows
Painting a house can give it a new, fresh look and revitalize it into an attractive home. But mishaps are bound to happen along the way. Painting windows, for instance, requires experience and precision, and sloppy paint flecks or splotches can happen if you’re not careful.
However, that doesn’t mean you have to literally sit and watch the paint dry to avoid errors. Removing paint from windows without scratching the glass is very easy.
A few methods involve heavy-duty chemicals to clear the paint completely, but these can damage windows, and applying them is best left to the professionals. The one we’ll discuss today relies on items you can easily find around a house or in the nearest hardware store.
Preparation
The supplies needed to remove paint are:
A tarp, an old towel, or newspapers for protection
Rubber or vinyl gloves
Soft sponge or cloth
Bucket of warm water
A cup of vinegar
Razor or utility knife
Dish soap
Steps to remove the paint
Put down the towel, tarp, or newspapers below the window to catch loose paint.
Remove handles from the windows. This step is only applicable for older windows or where the window hardware might block access to the glass.
Heat a cup of vinegar in the microwave for 60 to 90 seconds. Be careful when removing the hot cup from the microwave; use gloves or a towel to protect your hands.
Dip a sponge or a cloth in the hot vinegar and rub it along the paint spots. Avoid using an abrasive sponge or steel wool, as they can scratch the glass underneath.
If the paint does not loosen, you may need to scrub gently at the spot.
If that is not enough, pour a small amount of dish soap (about a tablespoon should be enough) into a bucket of warm water and scrub the paint. Use circular motions for best results.
If there’s still paint left over, use a new razor or a utility knife. Score the perimeter of the paint at the edge of the window glass. This offers a finish line, so to speak. Place the blade’s edge at a 45-degree angle and scrape towards the border. Use only light pressure to avoid scratching the window in the process. Keep applying more warm, soapy water to loosen the paint and lubricate the surface.
Once the paint is removed, clean the entire window and check for any remaining paint flecks.
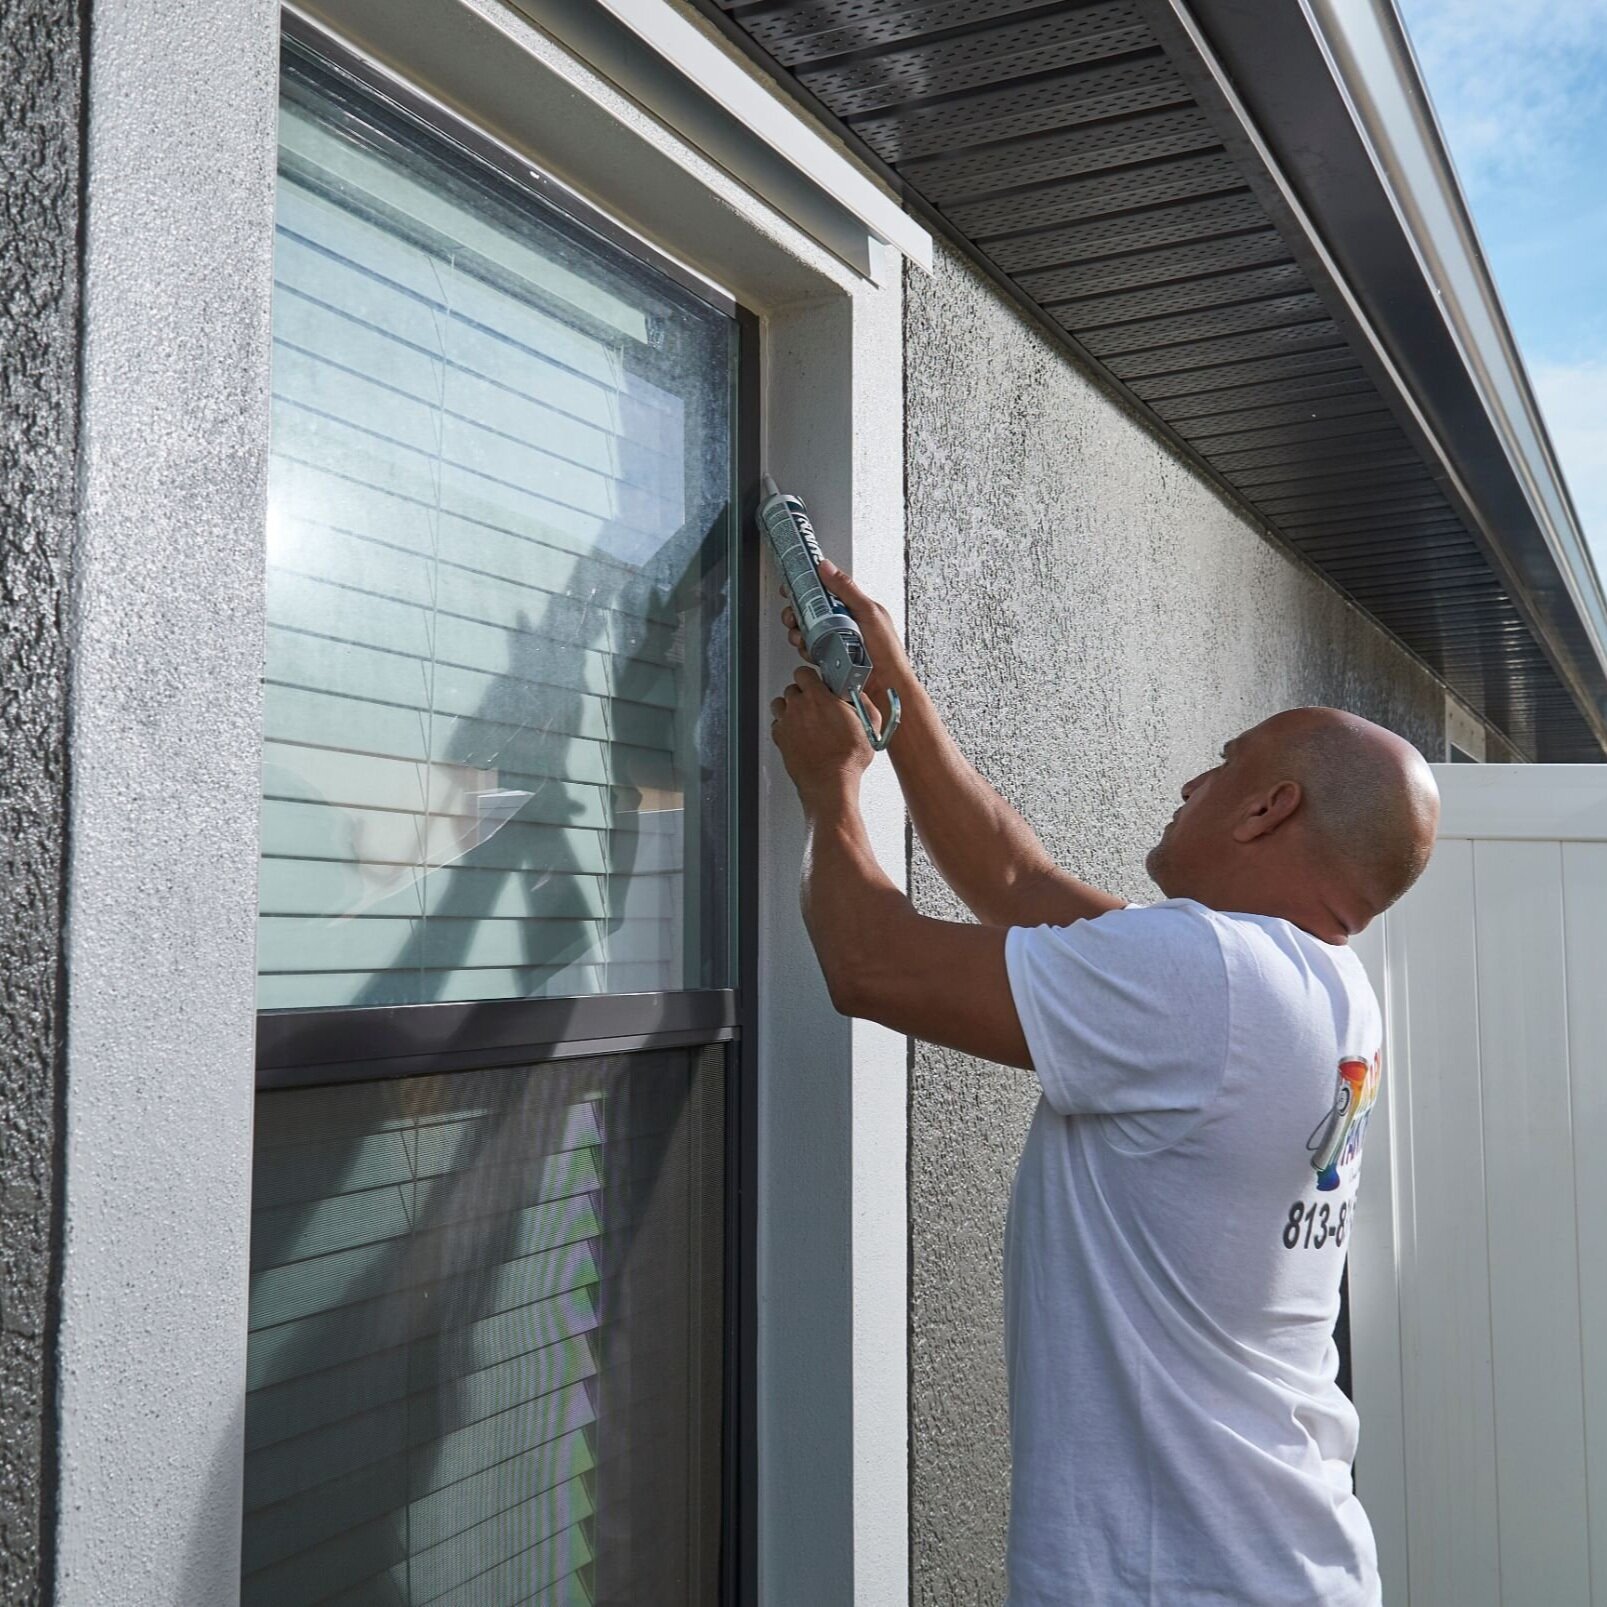
Call in the pros
The best way to have clean windows after a home remodeling is to call professionals to repaint the house for you. Experienced contractors at Mark’s Painting will repaint the house, protect the windows, and do it all without leaving a mess to clean up afterward.
Mark’s Painting offers residential and commercial painting for Tampa, Hillsborough, and Pinellas County. Our services include residential painting- interior/exterior, commercial painting, drywall and plaster, pressure washing, popcorn ceiling removal, cabinet painting, kitchen painting, and trim and molding. We are licensed and insured. Call us at (813) 831-5433.