Why Does My Paint Look Streaky After Drying? A Tampa Painter's Diagnostic After 25 Years on Interior Walls
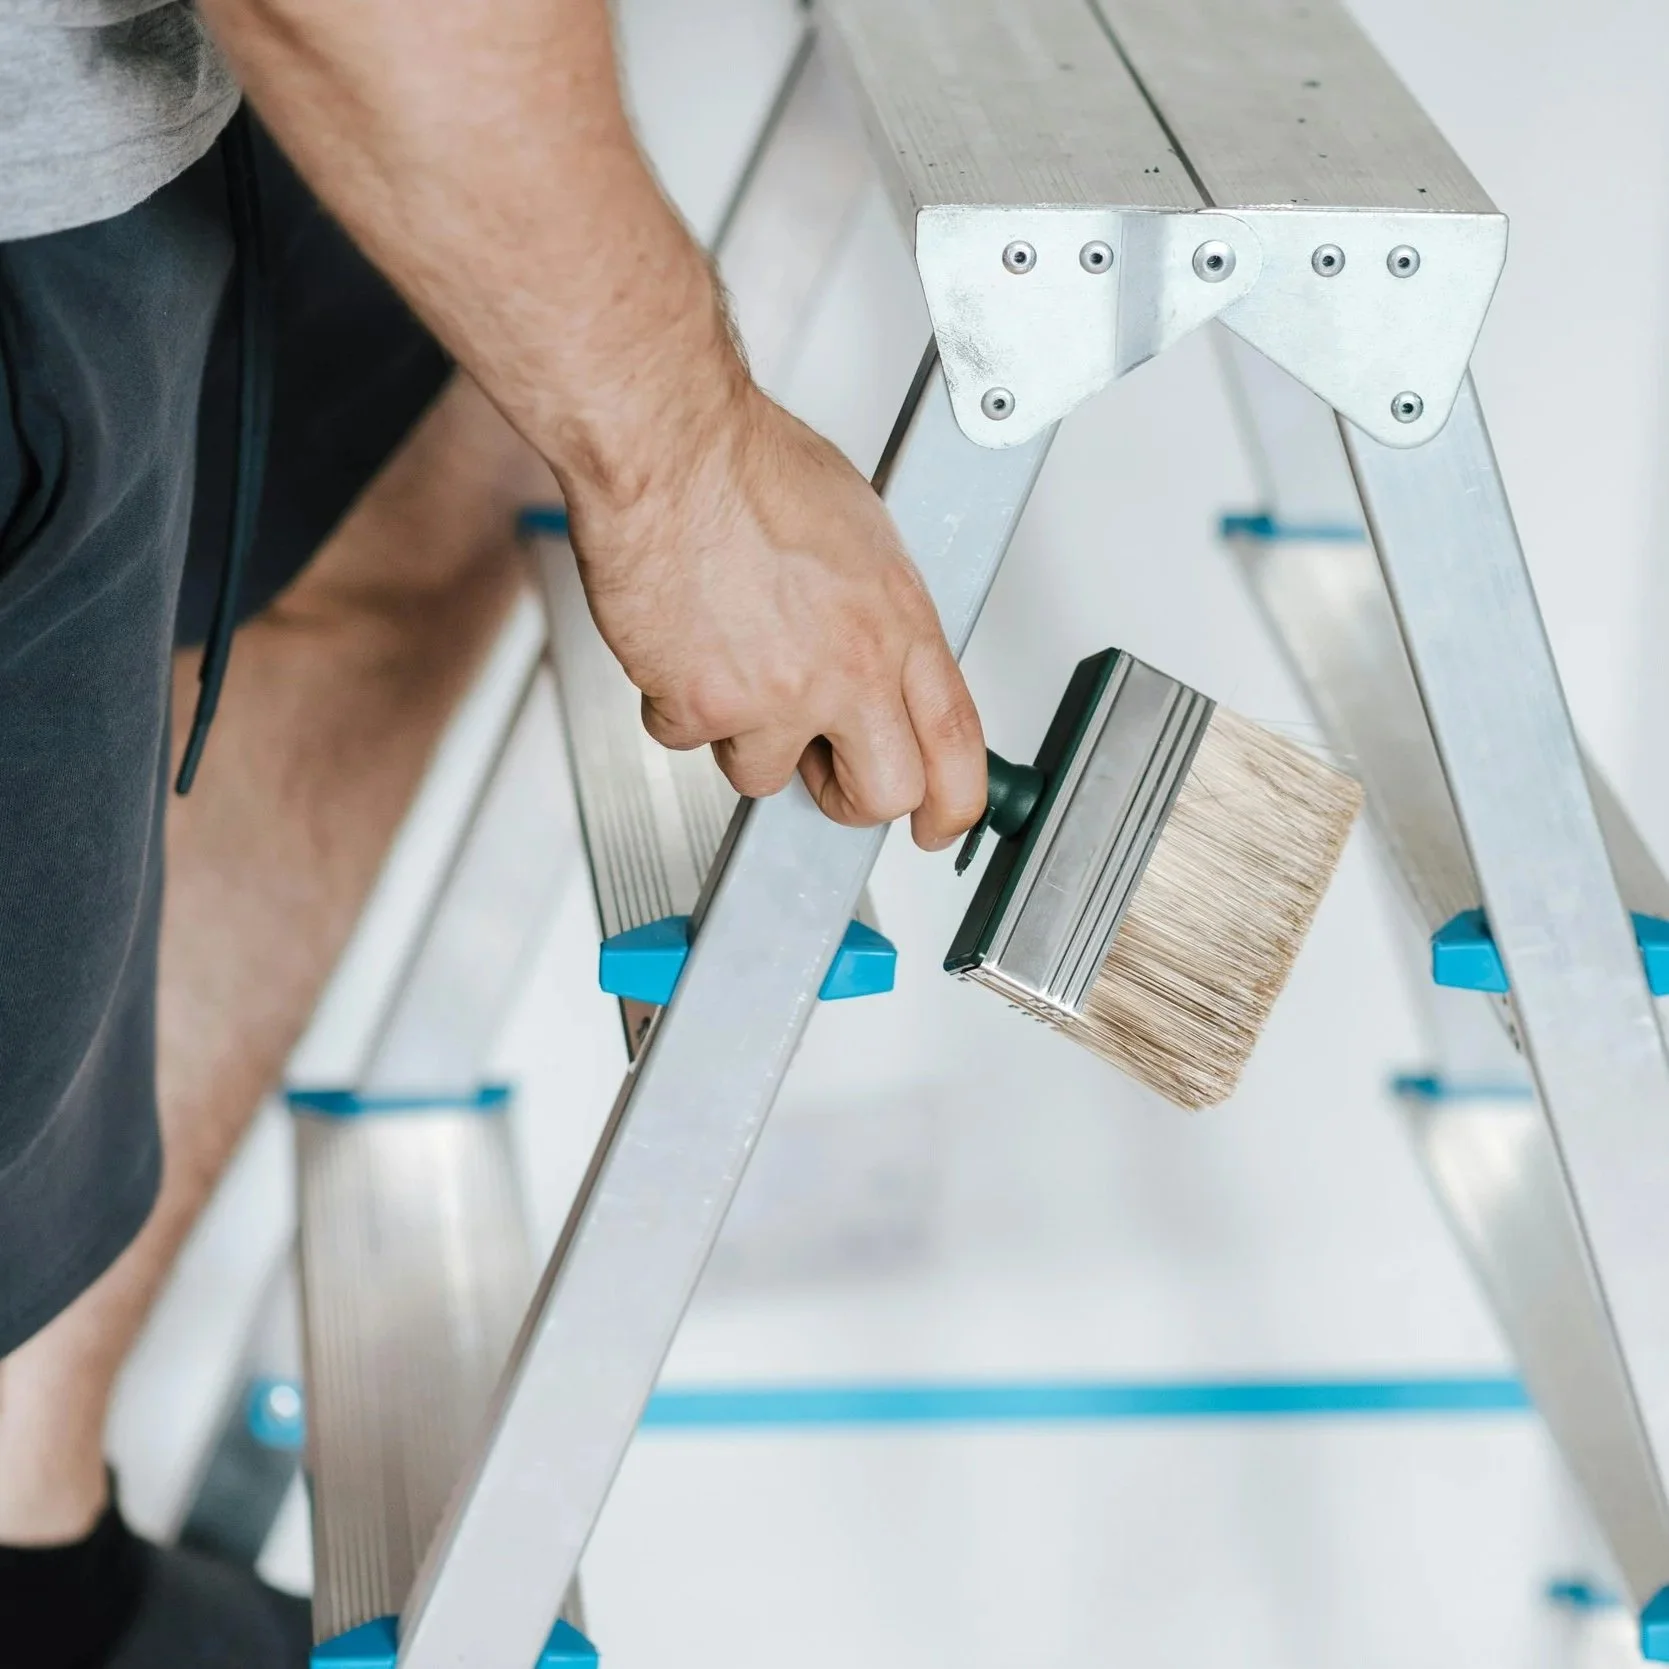
Painter holding brush beside ladder, highlighting streaky interior paint problems caused by poor technique, heat, and lost wet edges.
A homeowner in Hyde Park called me last summer about a living room she'd painted herself over a long weekend. By Monday morning, with the sun coming through the south-facing window, she could see streaks running down the wall in vertical bands. She wanted to know if the paint was defective. The honest answer, after I walked the room with her, was no. The paint was fine. The conditions were wrong, the roller was wrong, and the way she'd worked the wall meant the streaks were locked in before the paint stopped flowing.
I'm Mark Savino. I've painted a lot of interior walls across Tampa Bay over the last 25-plus years, and I've diagnosed many streaky DIY repaints. Premature streaking has only a few real causes, each of which is diagnosable from the wall in front of you in 15 minutes. Here's how I read it.
The Short Answer
When I see paint streaking on a Tampa interior, the cause is almost always one of three things: the painter lost the wet edge between roller passes, the room was too warm or too dry, the paint skinned before it leveled, or the coat went on too thin. Cheap paint contributes; defective paint rarely does. The fix usually involves understanding which type of streak you're looking at, then recoating corner to corner with the right roller, the right conditions, and the right technique.
That's the diagnosis. Here's how to actually read it.
What "Streaky" Actually Means
Homeowners use the word streaky for at least six different defects that look similar but happen for different reasons. Naming the right one is half the fix.
Lap marks. Benjamin Moore's own troubleshooting page describes these as appearing "as a deeper color or an increased gloss where wet and dry layers overlap during paint application." They happen when the roller stops, the paint dries at that edge, and the next pass overlaps onto already-dried film. The result is a visible band running where the two areas meet.
Flashing. Sherwin-Williams' problem-solver defines this as "an uneven appearance of a paint coating's gloss, sheen, or luster." The wall is the right color, but it reflects light differently in different spots. Causes include uneven film thickness from lapping, insufficient film build from a coat applied too thin, temperature fluctuations during drying, or coating over a porous surface without sealing it.
Roller marks. The texture left by the roller doesn't blend cleanly across the wall. Vertical bands of slightly different texture or sheen. Causes: wrong nap length, cheap roller cover that sheds or skips, or low-quality paint that doesn't flow out.
Brush marks. Visible bristle lines from a brush stroke that didn't lay off properly into the surrounding film. Usually shows up at cut-in lines or where someone tried to spot-touch a roller-painted wall with a brush.
Picture framing. A visible "frame" around the perimeter of a wall where the brush-cut edge looks different from the rolled center. Usually happens when the cut-in dries before the roller catches up to it, leaving a thicker, glossier border around the room.
Bleed-through streaks. Old water stains, tannins, or grease bleeding up through the new paint. Common on bathroom walls, smoker's rooms, and patched areas that weren't primed properly.
Pull out a flashlight and shine it across the wall at a low angle. The defect you see tells you which one you're dealing with.
The 8 Real Causes of Streaky Dried Paint
Here are the causes I see, in roughly the order I encounter them on Tampa Bay jobs.
| Cause | What it looks like | Primary fix |
|---|---|---|
| Lost the wet edge between passes | Visible vertical bands where roller stopped and restarted | Work smaller sections; maintain a wet edge; plan breaks at natural interruptions |
| Painting in hot or dry conditions | Paint skins before flowing out; lap marks and flashing both possible | Run the AC; work shaded walls first; add Floetrol |
| Sub-mil film thickness | Substrate or previous color shows through; uneven sheen | Apply at manufacturer's recommended spread rate; plan two coats |
| Wrong roller cover | Stipple variance across the wall; bands of different texture | Use 3/8" nap for smooth drywall, 1/2" for light texture |
| Low-quality vinyl-acrylic paint | Doesn't flow and level well; visible brush and roller marks | Switch to a 100% acrylic paint with better flow properties |
| Skipped primer over stains or patches | Bleed-through streaks; uneven absorption | Spot-prime stains with shellac or oil; prime patches to seal porosity |
| Touched up aged paint with same can | Touch-up spots glow slightly different from surrounding film | Recoat corner to corner — never spot-touch — for clean result |
| Painted over glossy surface without prep | Spotty grip; some bands flash worse than others | Scuff-sand with 220 grit; bonding primer before topcoat |
The single most common cause of Tampa Bay DIY jobs, in my experience? Lost wet edge in a hot room with the AC turned off. The homeowner kills the AC for paint fumes, summer heat brings the interior temperature up to 85 or 90 degrees, the paint dries faster than they can keep up with, and the wall ends up looking striped.
How Wet Edge Actually Works
Benjamin Moore's troubleshooting page on lap marks puts it directly: "Keeping a wet edge by applying paint a short distance away from the portion you just painted and rolling or brushing back into that wet area prevents lap marks."
In practice, on a Tampa Bay interior wall:
You roll a section of wall — say, three feet wide, top to bottom. While that section is still wet at the right edge, you load the roller, drop into the next three-foot section, and roll back into the wet edge you just left. The two areas blend before either has time to dry. No band.
You stop for fifteen minutes to answer a phone call. The right edge of your last section dries. When you come back and start the next section, the new wet paint hits dried film. The roller pulls a slightly thicker layer at that overlap, and when it all dries, you can see a vertical band where the two areas meet.
The fix Benjamin Moore recommends: "Plan breaks at natural interruptions such as a window, door, or corner." If you have to stop, stop somewhere the eye won't track a band — at a corner, at a window casing, at a doorway. Not in the middle of a 16-foot living room wall.
Why Hot Conditions Make It Worse
Sherwin-Williams' guidance on DIY painting techniques names this directly: "The heat from the sun's rays causes the paint to dry too quickly, which can cause… brush marks, lap marks, inadequate adhesion."
Most major-brand interior latex paint specifies application between 50 and 90 degrees Fahrenheit. Manufacturer-drying-time benchmarks are stated at 77 degrees and 50 percent relative humidity. Tampa Bay summer interior temperatures, when the AC is running at 76 degrees, sit close to that benchmark. With the AC turned off — which homeowners constantly do to avoid breathing paint fumes — interior temperatures climb fast, especially on south- and west-facing walls hit by afternoon sun.
At 88 degrees and 70 percent humidity, you're outside the published spec window. The paint dries before it has time to flow out. The roller texture stays in the film. The lap marks lock in. The wall reads streaky.
The fix is room control before paint hits the wall. Run the AC. Close the blinds on sun-facing windows until that wall is done. Work shaded sections first when the temperature is rising throughout the day. And on really hot interior jobs, we use Floetrol — a paint conditioner that extends the wet-edge time by slowing the dry rate.
The Florida Factor
Tampa Bay's interior painting climate is harder than most U.S. markets, and it shows up on weekend DIY jobs more than people realize.
Outdoor humidity bleeding inside. Tampa’s monthly average humidity sits between 69 and 78 percent. When homeowners paint with windows open for ventilation, that outdoor air pulls indoor humidity well above the manufacturer's 50 percent benchmark. Higher humidity extends drying time unevenly across the wall — areas closer to the window dry more slowly than areas across the room — which can show up as flashing across the same wall.
Interior temperatures swinging when the AC goes off. A Tampa home with the AC running at 76 degrees and the AC off in mid-July can hit 88 to 92 degrees indoors by mid-afternoon. That temperature swing during paint application is brutal for film formation.
South- and west-facing rooms with afternoon sun. Raked light from a low-angle sun through a large window reveals every defect in the dry film. The streaks were there last night when the room was lit by overhead fixtures; the raked sun just made them visible Monday morning.
Open-plan great rooms with vaulted ceilings. Tampa Bay homes built in the last 20 years routinely have 12- to 20-foot vaulted ceilings in great rooms. Every ladder reposition is a wet-edge break unless the painter feathers the edge with a dry roller. Many DIY jobs fail in these rooms simply because the ladder choreography is harder than they expected.
The First Thing I Look At
When I walk a streaky wall, I run the same diagnostic in the same order. Five questions, all answerable from the wall in front of me.
Pattern direction. Vertical bands almost always point to roller lap marks because most walls are rolled vertically. Horizontal bands point to the brush technique — usually cut-in lines that didn't blend into the rolled field. Diagonal lines point to a roller M or W technique that wasn't carried over into straight strokes afterward.
Light angle. Raked light from a low-angle window reveals defects that overhead light hides. If the wall looks fine at night and streaky at 9 a.m., the defect was always there — the morning sun just exposed it.
Sheen variation versus color variation. Uniform color but different reflectivity is flashing. Uniform reflectivity but visible bands of darker or lighter color are lap marks or thin film. Mixed defects sometimes show both.
Edge behavior. A visible frame around the perimeter of the wall where the brushed cut-in looks different from the rolled center is picture framing. That tells you the cut-in dried before the roller reached it, which means the painter spent too long on the cut-in and didn't roll fast enough.
Substrate condition. Run a hand over a streak. If there's a physical lump or ridge under the paint, it's a substrate problem — drywall mud not sanded smooth, old wallpaper paste left behind, a patch that wasn't feathered. Not a paint defect.
Fifteen minutes of looking at the wall with the right questions usually tells me which of the eight causes is in play.
Two Things Most Articles On This Topic Skip
The top results on this search are mostly Reddit threads and a couple of generic DIY blogs. Two pieces of information that actually matter on a Tampa Bay job rarely show up.
Touch-up flashing is physics, not paint quality. Six months after a job, you ding the wall and dab paint from the same can on the spot. The fresh paint dries at the manufacturer's published gloss. The aged film around it has dulled half a step from light, cleaning, and oxidation. Under raked light, the touch-up sits there glowing slightly brighter than the surround. This isn't a problem with your paint can. It's how all latex paint behaves over time. Sherwin's flashing page lists the fix as "Apply an additional coat to even out sheen irregularities" — corner to corner, never spot-touch.
Picture framing has a specific cause and a specific fix. Most articles don't name it. It happens when the cut-in around the perimeter of a wall — the brushwork around the ceiling, baseboard, door, and window casings — dries before the roller catches up to it. The brush film is also slightly thicker than the rolled film. So the perimeter ends up with a visible frame of slightly different sheen and color. The fix is two-fold: cut and roll the same wall in the same wet pass, so the brush film and roller film blend wet-on-wet; and feather the brush film into where the roller will reach, so there's no hard edge.
When the Customer Asks Me What Happened
Here's how the conversation usually goes in the homeowner's living room.
Streaks running vertically up and down the wall in a South Tampa craftsman room were warm during application — lost wet edge. We're recoating with the AC running and Floetrol mixed in.
Streaks visible only on the south wall of a Riverview ranch hit by afternoon sun, other walls look fine — sun-side heat accelerated dry time on that wall only. Closing the blinds during recoat, working that wall in the morning before the sun hits it.
Streaks following the brush-cut perimeter around a Carrollwood living room — picture framing. The cut-in dried before the roller reached it. We recoat the entire wall, cutting and rolling in the same wet pass.
Streaks with visible color variation showing what looks like old water stains coming through on a Brandon bathroom — bleed-through. Need shellac primer on the stained spots before the recoat takes.
Streaks are visible mainly in raked window light on a Pinellas Park bedroom; the wall looks fine, flashing from a thin first coat. Two-coat recoat at the manufacturer's spread rate fixes it.
Streaks from a roller that left visible texture variance on a Plant City rental flip — wrong nap or cheap cover. We switch to 3/8" nap quality cover and recoat.
That's the diagnosis. Once we know which type of streak it is, the fix follows quickly.
What the Data Won't Tell You
A few honest things I want to flag.
The 30-day full-cure window for latex paint means sheen variations can settle down over two or three weeks, even without a recoat. If the streaks are mild and you can live with them for a few weeks, sometimes time fixes a flashing problem that looks bad the morning after. Lap marks and thin-film streaks don't settle, though — those require a recoat.
Floetrol works in hot conditions, but it isn't magic. Eight ounces per gallon is the standard rate. Up to sixteen in extreme heat. Too much Floetrol thins the paint and reduces hide, so don't pour the whole bottle in. Read the label.
Manufacturer temperature and humidity ranges are published for a reason. The 50 to 90 degree window with 50 percent humidity benchmark isn't marketing — it's the condition the paint is engineered to flow and level in. Outside that window, expect application defects regardless of how careful you are.
Cheap paint compounds prep mistakes. A 100 percent acrylic premium product is more forgiving on technique because it flows better. A vinyl-acrylic budget product will show every imperfection in application. Spending the extra ten dollars per gallon often saves the second coat.
Frequently Asked Questions
Often, yes, if you apply it corner to corner at the manufacturer's recommended spread rate. Spot-recoating over just the streaks usually makes it worse. Sherwin-Williams' fix for flashing is a full additional coat from break to break.
Light scuff-sanding with 220 grit knocks down raised stipple and any ridges from the original application. It also gives the recoat something to grip. Vacuum or wipe with a damp cloth before painting.
Almost never. Manufacturer problem-solver pages from Sherwin-Williams, Behr, and Benjamin Moore all attribute these defects to application technique, environmental conditions, or substrate prep — not to paint defects. If the wall is streaky, look at how the paint went on before you look at what's in the can.
Raked light from a low-angle window or lamp reveals texture and sheen variations that flat overhead light hides. The defects exist in the film all the time; the lighting just makes them visible.
Generally no. Fresh paint on aged paint flashes — the touch-up spot will read slightly different from the surrounding film. Recoat corner to corner instead.
3/8" nap synthetic woven cover, quality brand. Behr and Sherwin-Williams both spec 3/8" for smooth drywall with flat or eggshell sheens. 1/2" nap for walls with light texture. Skip the bargain-bin covers — they shed and leave roller marks.
Yes. Manufacturer drying times are stated at 77 degrees and 50 percent relative humidity. Higher humidity extends dry time, sometimes unevenly across a wall, which can cause flashing. In Tampa Bay's summer humidity, painting with windows closed and AC running gives more consistent results than painting with windows open.
Streaky paint after drying almost always comes from how the paint went on, not what was in the can. Lost wet edge, hot conditions, thin film, wrong roller, or skipped primer — those are the five real causes. Diagnose by looking at the pattern, the light angle, and what's underneath. Then recoat corner to corner with the right roller and the right conditions.
Don't spot-touch a streaky wall. It almost always makes it worse. Run the AC. Use a 3/8 inch quality nap cover. Maintain the wet edge. Plan breaks at corners. Add Floetrol in hot rooms.
The paint isn't the problem. The conditions are.
If your Tampa Bay interior repaint came out streaky and you want a second opinion on what caused it and what it'll take to fix, give us a call at (813) 831-5433 or request a free estimate. We'll walk the room with you, diagnose the failure, and quote the repair in writing.