Should You Prime Before Repainting Already-Painted Walls? A Tampa Painter's Take After 25 Years
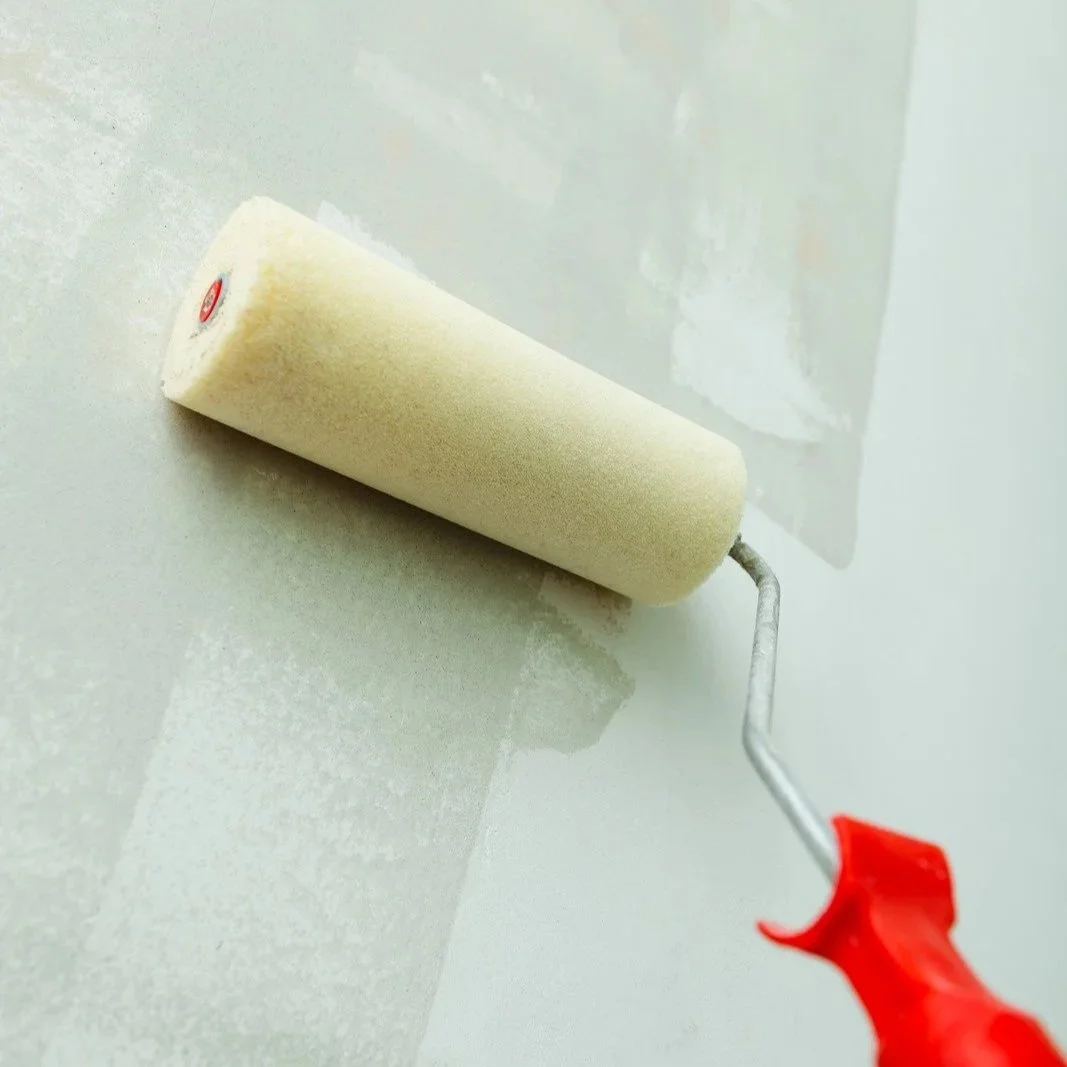
Paint roller applying fresh primer coat on interior wall, demonstrating proper wall preparation before repainting Tampa Bay home interiors.
I get this question every weekend from homeowners halfway through a paint project. They've bought a paint-and-primer-in-one product; the can promises one-step coverage, and they want to know whether they're supposed to prime separately or can skip that step. The honest answer: it depends on what's on the wall now, what you're putting on top of it, and whether the wall has any specific problems hiding under that existing paint.
I'm Mark Savino. I've been painting houses across Tampa Bay for more than 25 years. We've primed thousands of walls and skipped primer on thousands more. The difference between needing to prime and being able to skip it isn't a guess — it's a checklist.
The Short Answer
Skip the separate primer when you're repainting a sound, clean, previously painted wall in a similar color, using a quality paint-and-primer-in-one product. Most everyday Tampa Bay interior repaints fit this case. The "paint and primer in one" marketing is real for this scenario.
Prime separately when ANY of these apply: dramatic color change (dark to light or saturated to neutral), glossy or oil-based existing finish, visible stains (water, smoke, nicotine, grease), repaired or bare drywall areas, latex going over oil, or any wall in a Tampa bathroom/kitchen where mildew has been cleaned off. In any of these cases, the paint-and-primer claim doesn't cover what the wall actually needs.
When in doubt — prime the whole wall, not just patches. Spot priming creates flashing under raked light. If you have multiple repaired areas or stains, prime corner to corner for a uniform finish.
What "Paint and Primer in One" Actually Means
Paint-and-primer-in-one products are real, and they work — for a specific case. They contain higher pigment loads and stronger binders than standard wall paint, so on a sound previously painted wall in good condition, the single product handles both jobs: it bonds to the previous paint and provides finish color.
What they don't do: replace a real primer when the wall has a specific problem. Stain blocking, adhesion to glossy surfaces, sealing porous patches, killing mildew — these require dedicated primer chemistry. The paint-and-primer claim holds in the easy case but fails in the hard ones.
Consumer Reports' lab testing has confirmed that the better paint-and-primer products handle one-coat coverage on similar-colored repaints. Manufacturers — Sherwin-Williams, Benjamin Moore, Behr — are explicit that paint-and-primer doesn't replace a real primer for the harder scenarios.
When Priming IS Needed
Dramatic color change. Dark to light, saturated to neutral, deep accent to soft greige. Sherwin-Williams' own guidance: "Priming is essential when you're switching from dark to light colors." The contrast amplifies any failure to seal the previous color — you'll see it bleeding through the topcoat under raked light.
Glossy or oil-based existing finish. Semi-gloss bathroom walls, gloss trim, or any oil-based paint applied over the past several decades. The new latex paint can't bond mechanically to a slick surface. You need either to scuff-sand to dull the gloss (220-grit) and prime, or use a dedicated bonding primer like Sherwin Extreme Bond, Benjamin Moore Stix, or Behr Bonding Primer. Skipping this step is the most common reason cabinet and trim repaints fail at year one.
Visible stains. Water rings on ceilings, smoke damage, nicotine yellow, grease around the cooktop, and tannin bleeding through from old wood paneling. These bleed back through latex paint within weeks, even months later. Use a stain-blocking primer — Zinsser B-I-N for the worst (smoke, nicotine, knots, water damage), Zinsser Cover Stain for exterior tannin and heavy water stains, Sherwin ProBlock or Behr Extreme Block for general stain blocking.
Repaired or bare drywall areas. Joint compound, patched holes, exposed drywall paper, and mud joints — all need to be primed before topcoating. Drywall mud and unprimed paper drywall are porous and will absorb the topcoat unevenly. The result without primer is "flashing" — visible texture and color variation at every patch. Prime the entire affected wall, not just the patches.
Latex over oil. Older homes in Tampa Bay — especially pre-1985 builds — often have oil-based trim, doors, or even walls that were never converted to latex. Painting latex directly over oil causes the latex to "lift off" the substrate within months. Use a dedicated bonding primer between the two. This is mandatory, not optional.
Mildew that's been cleaned. In Tampa bathrooms and kitchens with chronic mildew, you have to kill the mildew first (1:3 bleach to water, let dwell, rinse, dry fully). Then, prime the affected areas with a mildew-resistant primer. Just painting over visible mildew, even with mildew-resistant paint, doesn't kill it — the mildew keeps growing under the new film.
Very old or chalky paint. Walls that haven't been repainted in 20-plus years often have oxidation, chalking, or porosity that interferes with new paint adhesion. Wash with TSP, rinse, and prime before topcoating.
When You Can Skip the Primer
Same-color or similar-color refreshes on sound walls. The most common case. If the existing paint is clean, well-adhered, no peeling, no stains, no repairs, and you're going to a similar shade — a quality paint-and-primer-in-one (Behr Marquee, SW Cashmere or Duration, BM Aura or Regal Select) handles both jobs in one product. Two coats is still standard, but a separate primer underneath isn't necessary.
Touch-ups on existing color. Spot painting nicks, scratches, or small dings on the existing wall color doesn't need primer. Match the paint, dab it on, blend it in.
Light-on-light or light-on-similar changes. Going from one off-white to another, or one greige to a similar greige — paint-and-primer covers this. The color change isn't dramatic enough to demand the extra coverage that a separate primer provides.
Walls in good condition with no specific problems. No stains, no glossy old paint, no repairs, no mildew, no porous areas. The "good case" for skipping primer.
Spot Priming vs Full Priming
This is one of the most common mistakes I get called to fix.
Spot priming is priming only specific areas — a patched hole, a single water stain, or one drywall repair. It saves labor and primer cost.
The problem with spot priming on visible walls: the primed area absorbs the topcoat differently than the unprimed surrounding wall. The result is a visible "halo" or "flash" around the primed spot under raked light, even when the topcoat looks fine from straight on. SW's own guidance warns against this directly.
The fix: if you have multiple patches or stains on the same wall, prime the entire wall corner to corner, not just the patches. Yes, it's more work and more primer. It's also the only way to get a uniform finish.
Spot priming is acceptable when: - The patch is small and isolated - You'll apply two or more topcoats (which can hide minor flashing) - The wall sheen is flat (matte hides flashing better than satin or semi-gloss)
For semi-gloss, satin, or any wall where raked light will read every imperfection, prime the full wall.
When Paint-and-Primer-in-One Really Doesn't Replace Primer
Manufacturers don't bury this; Behr's own plain-language summary is that paint-and-primer is "a really good primer, but not a primer built for specific challenges." The specific challenges where you still need a dedicated primer:
- Medium-to-heavy stains: dedicated stain-blocking primer (B-I-N, Cover Stain, ProBlock) - Major color changes: dedicated primer tinted toward the new color - Glossy or oil-based existing finishes: dedicated bonding primer - Raw or porous wood, new drywall, bare patches: PVA or all-purpose primer - Mildew-stained surfaces: clean with bleach solution first, then mildew-resistant primer
Reading "paint and primer in one" and assuming the can replaces every primer in every situation is how repaints fail. The product handles the easy case. It doesn't handle the hard ones.
Two Things Most Articles Skip
Tampa humidity affects every step of the prime-before-paint decision. Mildew on bathroom and kitchen walls is the most common Tampa-specific problem. Painting over mildew — even with a "mildew-resistant" paint — doesn't kill it. The mildew keeps growing through the new film. Kill it first (1:3 bleach to water, dwell, rinse, dry fully), then prime, then topcoat. Skipping the kill step is why so many Tampa bathroom repaints redevelop mildew within months of being painted.
Older Tampa homes likely have oil-based paint somewhere. Pre-1985 Tampa Bay homes — particularly in Hyde Park, Tampa Heights, Davis Islands, and Seminole Heights — often have oil-based trim, doors, and sometimes walls that were never converted to latex. If a homeowner is repainting one of these homes with modern waterborne paint and they don't bond-prime first, the new paint will peel within a year. Always check for oil-based existing paint in older homes (rubbing alcohol on a cotton ball: if paint comes off, it's latex; if it doesn't, it's oil). Treat oil-based surfaces with a bonding primer regardless of what the can promises.
The Florida Factor
Mildew on the bath and kitchen walls is a constant pressure. Tampa Bay bathrooms run hot showers in humid air for years. Kitchens accumulate grease and steam. Both create the conditions where mildew thrives in the paint film and on the wall surface. Before repainting either, inspect carefully, clean any visible mildew with bleach solution, prime with a mildew-inhibiting primer if needed, and use a mildew-resistant topcoat (SW Duration, BM Aura, or specialty bath enamel).
AC condensation behind exterior walls. Older Tampa homes from the 1960s and 1970s without modern vapor barriers sometimes get condensation on cold-side interior walls in summer. The moisture interferes with paint adhesion. If the existing paint is peeling, blistering, or has soft spots, the substrate may be the problem — not the paint. Address the moisture source before priming or painting.
Humidity slows primer cure. Primer recoat times spec at 50% RH and 70°F. In Tampa summer at 80% RH, expect primer to take longer than spec to fully cure. Don't topcoat too soon — the primer needs to harden fully before paint goes on top. Adding 25-50% to manufacturer recoat times is realistic for Tampa summer.
Salt air on coastal exteriors. Houses in Belleair, Madeira Beach, Indian Rocks, and Pass-a-Grille accumulate salt residue on exterior surfaces. Salt interferes with primer adhesion. Always pressure wash and rinse coastal exteriors before priming.
Hurricane damage hides under existing paint. Any Tampa Bay home that's been through major storm damage (Helene, recent named storms) may have water-stained drywall under the existing paint that the homeowner doesn't know about. If you remove old peeling paint and find dark stains underneath, treat it as water damage — clean, prime with B-I-N or Cover Stain, then topcoat.
When the Customer Asks Me About Priming
Here's how the conversation usually goes during a walkthrough.
If a homeowner in Carrollwood is repainting their living room from one shade of greige to a similar shade, walls are sound, no stains, no repairs — we're skipping separate primer. A quality paint-and-primer-in-one (their choice of Marquee, Cashmere, or Aura, depending on budget) covers it in two coats.
If somebody in Hyde Park has a 1920s bungalow with original oil-based trim and is repainting in modern latex — we're priming the trim with a bonding primer first. Mandatory step.
If a Westchase home is repainting a navy accent wall back to a soft white — we're priming the wall with a primer tinted toward the new white. Dramatic color change demands it.
If a Belleair coastal home has a bathroom with cleaned mildew and the customer wants to repaint — we're applying a mildew-resistant primer over the cleaned wall, then a mildew-resistant topcoat. Skipping the prime step here would let the mildew come back.
If a homeowner has just one patched hole in an otherwise sound wall — we're priming the patched area AND the immediate surrounding wall, feathering the prime to avoid flashing. For multiple patches, we'd prime the whole wall.
If somebody's repainting in a Pinellas Park rental flip with no time and a tight budget — we're using Behr Premium Plus paint-and-primer over sound walls, no separate primer. Different scenario, different right answer.
That's the framework. Not every job needs a primer. Every job that does need primer suffers without it.
What the Data Won't Tell You
I want to be honest about what's behind the recommendations.
Manufacturer guidance from SW, BM, and Behr is consistent on when priming is needed. The recommendations in this article come directly from their published guidance, plus 25 years of field experience.
Consumer Reports has tested paint-and-primer products and confirmed they handle one-coat coverage on similar-colored repaints. The lab results align with field experience.
The "older Tampa homes have oil-based paint" framing reflects field experience — there's no statistical study of Tampa Bay paint history. The test for oil vs latex (rubbing alcohol on a cotton ball) is universal contractor knowledge.
Humidity adjustments to manufacturer recoat times are field-experience guidelines, not specific manufacturer recommendations. The directional rule — wait longer in higher humidity — is reliable; the magnitude (25-50% extra time) is approximate.
Frequently Asked Questions
For sound previously-painted walls in similar colors, yes — confirmed by Consumer Reports testing and by manufacturer claims. For walls with stains, glossy finishes, repairs, oil-based existing paint, or mildew, no — paint-and-primer doesn't replace a dedicated primer for those specific problems.
Yes. Drywall mud and exposed paper are porous and will absorb the topcoat unevenly. Without a primer, you'll see every patch as a halo under raked light. For multiple patches, prime the entire wall to avoid flashing.
Rub a cotton ball with rubbing alcohol on the painted surface. If color comes off on the cotton ball, it's latex. If the alcohol does nothing, it's oil. For older Tampa homes (pre-1985), assume oil on trim unless you've verified latex.
A bonding primer designed for slick surfaces — Sherwin Extreme Bond, Benjamin Moore Stix, or Behr Bonding Primer. Light scuff-sanding with 220-grit before priming improves adhesion further.
For a small isolated stain that 2+ topcoats will cover on a flat-sheen wall, yes. For multiple stains, semi-gloss/satin walls, or visible-from-multiple-angles walls — prime the entire wall to avoid flashing. The primer halo around spot-primed areas often reads worse than the original stain.
Mix 1 part household bleach to 3 parts water, brush onto the mildew, let dwell about 10 minutes, rinse thoroughly with clean water, and dry fully. Then, prime with a mildew-resistant primer if there's still staining. Then, topcoat with a mildew-resistant paint product. Skipping any step lets the mildew come back.
Yes, but expect longer cure times. Tampa summer at 75-80% humidity can extend manufacturer recoat times by 25-50%. Don't topcoat too soon — the primer needs to fully cure before paint goes on top.
Any Home Depot (Behr, Zinsser), any Lowe's (Valspar, Zinsser, some Kilz), any Sherwin-Williams store (SW primers, ProBlock, Extreme Bond), any Benjamin Moore dealer (BM Fresh Start, Stix). Contractor accounts at all four unlock discounts.
Skip the primer for same-color refreshes on sound, clean previously-painted walls. A quality paint-and-primer-in-one handles it in two coats.
Prime separately for: dramatic color changes, glossy or oil-based existing finishes, visible stains (water/smoke/nicotine), repaired or bare drywall areas, latex over oil, and any Tampa Bay bath or kitchen wall where mildew has been cleaned.
Prime the whole wall, not just patches. Spot priming on visible walls creates flashing under raked light. If multiple patches exist, prime corner to corner.
Kill mildew before painting — bleach solution, dwell, rinse, dry, prime, topcoat. Painting over mildew without killing it first guarantees the mildew comes back.
The paint-and-primer-in-one claim is real for the easy case. It isn't a substitute for a dedicated primer when the wall actually has a problem to solve.
If you're trying to figure out whether your Tampa Bay project needs separate priming or can rely on paint-and-primer, give us a call at (813) 831-5433 or request a free in-home estimate. I'll inspect the walls, check for stains and adhesion concerns, test for oil-based existing paint where it matters, and recommend the right primer (or no primer) for your specific job.
